Phenomenal . . .

Phenomenal . . .
Life, Growth, and Connection (This sunflower was nourished by my hands.) 2010; Photography by Benita Blocker. Please become a follower of this blog.

Total Pageviews

Showing posts with label quickweave. Show all posts

Tuesday, June 10, 2014

Hair Glue versus Eyelash Glue


Apparently, some people have been using regular hair glue for eyelash extensions and have had no problems.  Then some people have gotten a chemical burn /eye injury from the hair glue.  So to resolve this matter, Sassi has come up with an eyelash glue whose packaging reminds me of hair glue.

In regards to the top photo of the child whose hair is perfectly adult styled in what looks like a quickweave,  I am speechless.

Anyway, please use hair glue for your head and eyelash glue for your eyes . . .

Sunday, April 7, 2013

Custom Made Removable Quickweave Wig


Custom Made Removable Quickweave Wig by Hairstylist Benita Blocker, 2013.

 My primary concern was to prevent any glue from getting in my Sisterlocks/hair.  Secondly, I wanted to create a straight, corporate look that I can grab that was custom fit to my own head!  Human hair that I can maintain as needed.

I started out with the U-Be Cap.  It is breathable; yet, it was designed to prevent glue from penetrating onto your hair.

Since the U-Be caps are no longer made, I wanted to protect it for reuse in the future.  I used wrap strips and paper towels held by a dot of hair glue to cover my U-Be cap.  According to the online reviews, the U-Be caps slipped off too easily. Most people complained about it moving around on their head during the day.      I am just using it as my first barrier against the hair glue.


I decided on using a wave cap versus a wig cap versus a weave cap.  I will have to do a separate article about the differences between the three caps.  I picked the wave cap because it fit really, really, tight and snug. I have heard others complained about wig caps loosening up so I figured the tighter, the better.  In addition, I had extra barriers plus my Sisterlocks to keep as compact as possible.

I started the quickweave at the back using Milky Way hair.

 The brown area on the wave cap is Roux Tween Time stick in Medium Brown color.  This area is marked for my invisible part.  ( Please see my other articles on this product and technique.)

I also planned to use the infusion hairline technique so the wefts can be placed however I need them to fall.  Please see my other articles for techniques.


I anchored some of the hair down to close out the unit.   Makeup by Benita Blocker.


I ended up tying a knot in the top of the wave cap. Then I glued underneath the knot.  Then I cut the knot off.  I then had a flat top to lay the remaining wefts on.


I custom closed this unit.  No separate closure piece was used.


I had completed all that I could complete while it was on my head!  


 So I took the new unit off.  I removed the U-Be cap.  Only a little paper towel residue was on it.  My hair was all clear.  My Sisterlocks were safe.


I wanted to use the sunlight for a better picture.  I cut and curled my new unit on the mannequin head and tripod.    


I also completed the infusion hairline while on the mannequin stand.  I found it hard to complete infusion hairline on my own head.  I could not get precision with my angling of my hands while the unit was on top of my head.  So the mannequin stand was great to finish the unit up and allow it to dry inside from the hair glue.  I did not want any residue on my own hair so I let it dry out.


I love my new unit!!!!  Hair by Benita Blocker, 2013.


 I used to cheap to mid-grade hair for this quickweave.  Sassy (from Sallys Beauty Supply), Joie Joie,  Milky Way.  I had a lot of inventory hair that needed to be used up.  It was not Remy, but it is better than some of the hybrid hair they have on the market now.  Besides, I would not want to put hair glue on Remy hair that I was paying $200 for.  The hair that I used probably appreciated in value over the years.  I am certain that I would have been out of over $100 if I had to buy hair from the store.


I did run out of the Milky Way and Joie Joie hair.  So I had to pull some Dena Cali hair that I had pre-colored as well as some Vienna Collection that I had pre-colored.  It is great to have a stash of hair to grab to piece a style together.


 Black Wrap Strips, hair glue and wave cap that I used for this technique is pictured above.


The medium brown stick that I used to mark the invisible part area.

The U-Be Weave cap package is pictured above.


I used this ceramic, non-ionic, $20 flat iron to curl the entire unit.  It worked fine.  I did not need anything more.

This completes my introduction to my removable Quickweave wig.  I charge around $200 to make this unit. Hair cost is separate.


Tuesday, February 19, 2013

Infusion Hairline: Beyond the Invisible Part

 Pictured is a sew-in weave with the invisible part area glued with the infusion hairline technique.  Special thanks to my classmate who allowed me to capture her infusion hairline prior to the start of class.
Believe it or not, I was one of the original creators of the invisible part.  The technique caught on fast and others are continuing to perfect it.
 Platform Artist Travis White starts the quickweave with dry hair.  Based on his clients' feedback, they say that they encounter less itching by starting the quickweave with dry hair versus the wet mold process.
 Travis prefers the wrap strips and weave cap for quickweaves.  It is not breathable, but it is definitely quicker than the "protection serums" and their drying time.
 Clients typically wear quickweave for 2 to 3 weeks at a time.  Those who "work-out" in the bed or workout in the gym  (i.e. heavy sweating) may get some stocking cap slippage.  Otherwise, this method should hold up.
 The 27 piece or 28 piece weaving kit is core for giving contrasting style.
 Travis "The Great" does not like closures or closure pieces so he places tracks and builds to have track to cover track.
 This is the back of the finished style.
This is the front of the finished style showcasing a partial infusion hairline along the bang area plus the 27 piece clippered down with a 001 clipper head going in the direction of the weave placement pinching some of the hairline to give a piecy effect.

As far as flat iron recommendations go, Travis the Great recommends the Red Pro Titanium 460 flat iron.  He cautions about the heat temperatures.  He reminds us that 350 degrees is enough to bake a cake so careful with the heat.  The Red Pro Titanium 460 flat iron can reach 460 degrees.

Yeah, Yeah, Yeah, I know that I did not tell you how to achieve the Infusion hairline . . .  because I do not want you all to "Do it Yourself" (DIY).  I want you to book your quickweave with infusion hairline appointment with me.  Big Smile.  Or you can buy DVDs from the www.watchmeworkhair.com  team.

This class was a part of the 2013 mid-Winter Bronner Brothers International Hair show.

For more info on the WatchmeWorkhair team:


Sunday, February 17, 2013

2013 Mid-Winter Bronner Brothers Hair Show

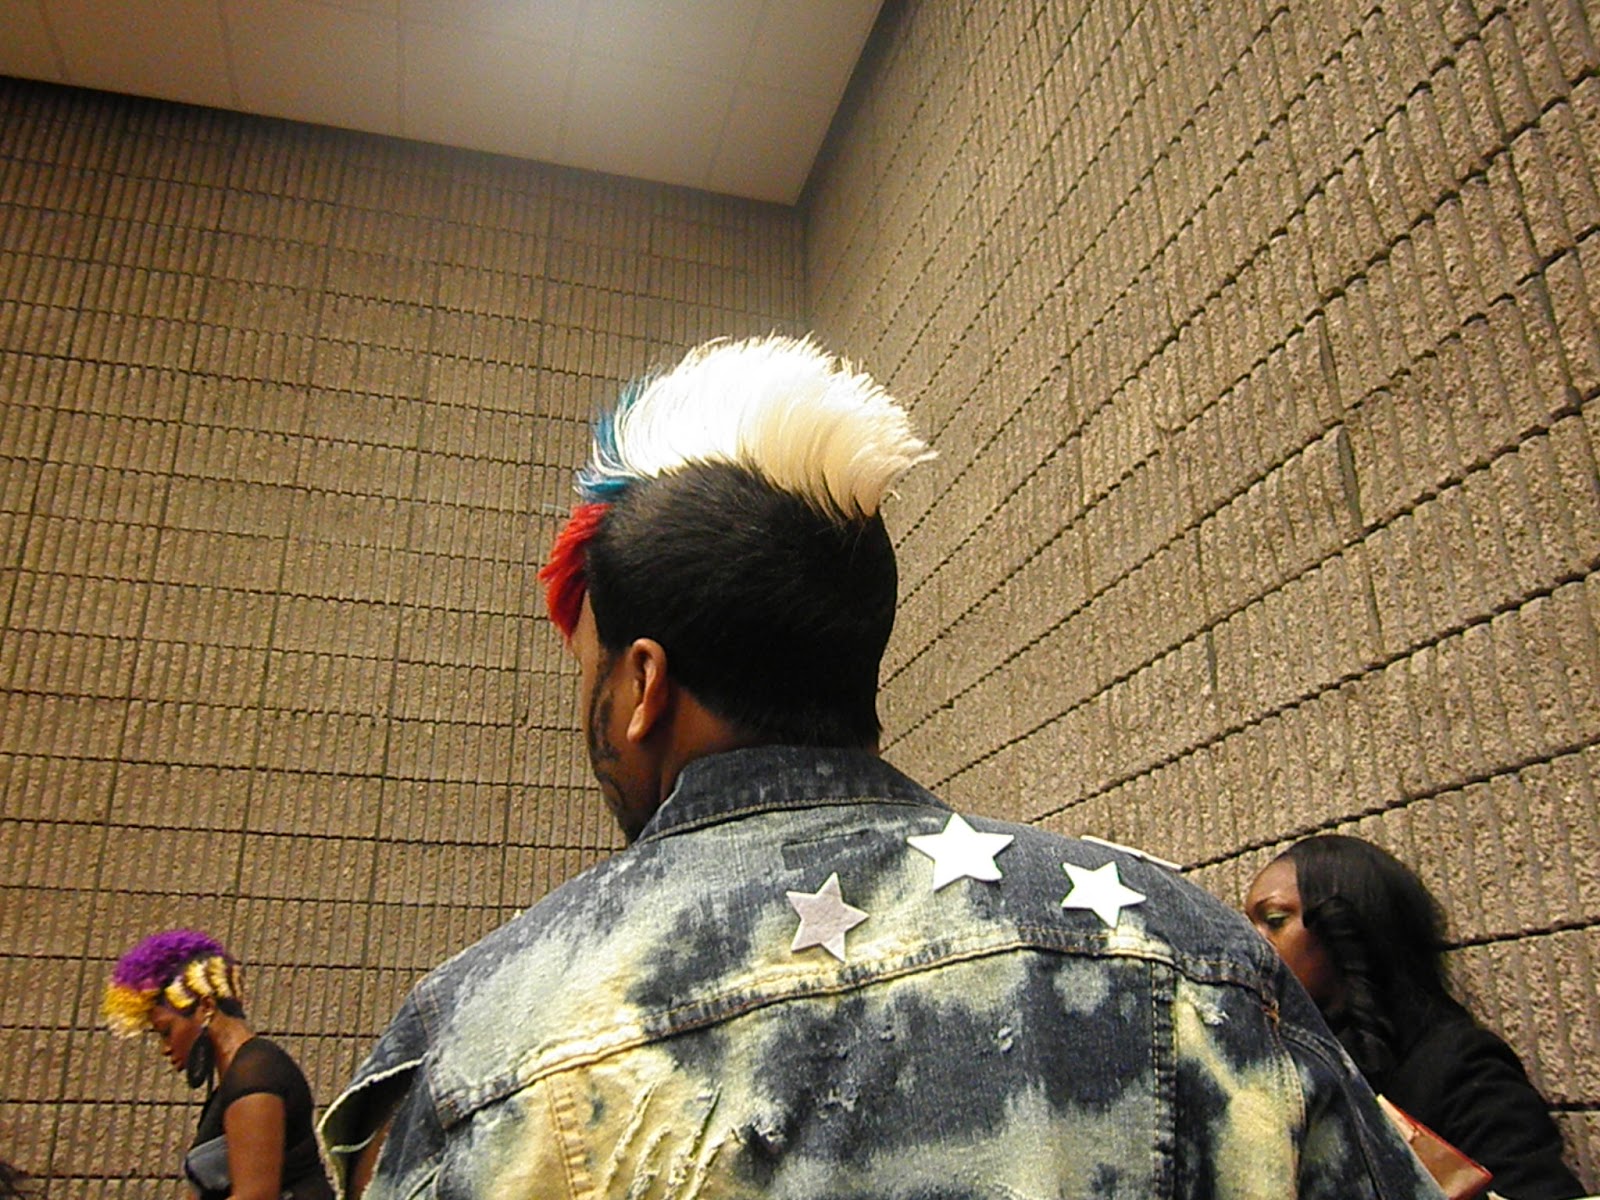
 I just made it back from the Atlanta Bronner Brothers International Hair  "Weave" Show!  Literally, in my nine years of attending this hair show, I have never, ever, seen this much weave in my life.  There should be a Wall Street stock option for "hair trading."  I barely saw anyone with their own hair showing.  I was simply amazed.

I actually think that the "weave" is a great way to have fun with bold color! So for special occasions, do not rule it out!!!!


Heterosexual men had "weave" . . .  "Drag Queens" had "weave."  If pets were allowed, then the pets would have had some weave!  All types of weave . . . sew-in, glue-in, wigs . . .

And on a more serious note, I learned about "Infusion Hairlines," "Remix Rings," and "Barbering Enhancement Sprays."  So more articles to come, but I need to catch up on some rest!!!!!  Please stay tuned!
Yes! They said "stay tuned."   More to come from the 2013 Mid-Winter Bronner Brothers International Hair Show in Atlanta.

Okay, the snowman was not from the hairshow, but my point about "weave" is everywhere is well noted.  Please see my previous article about the snowman's Payot curls.